
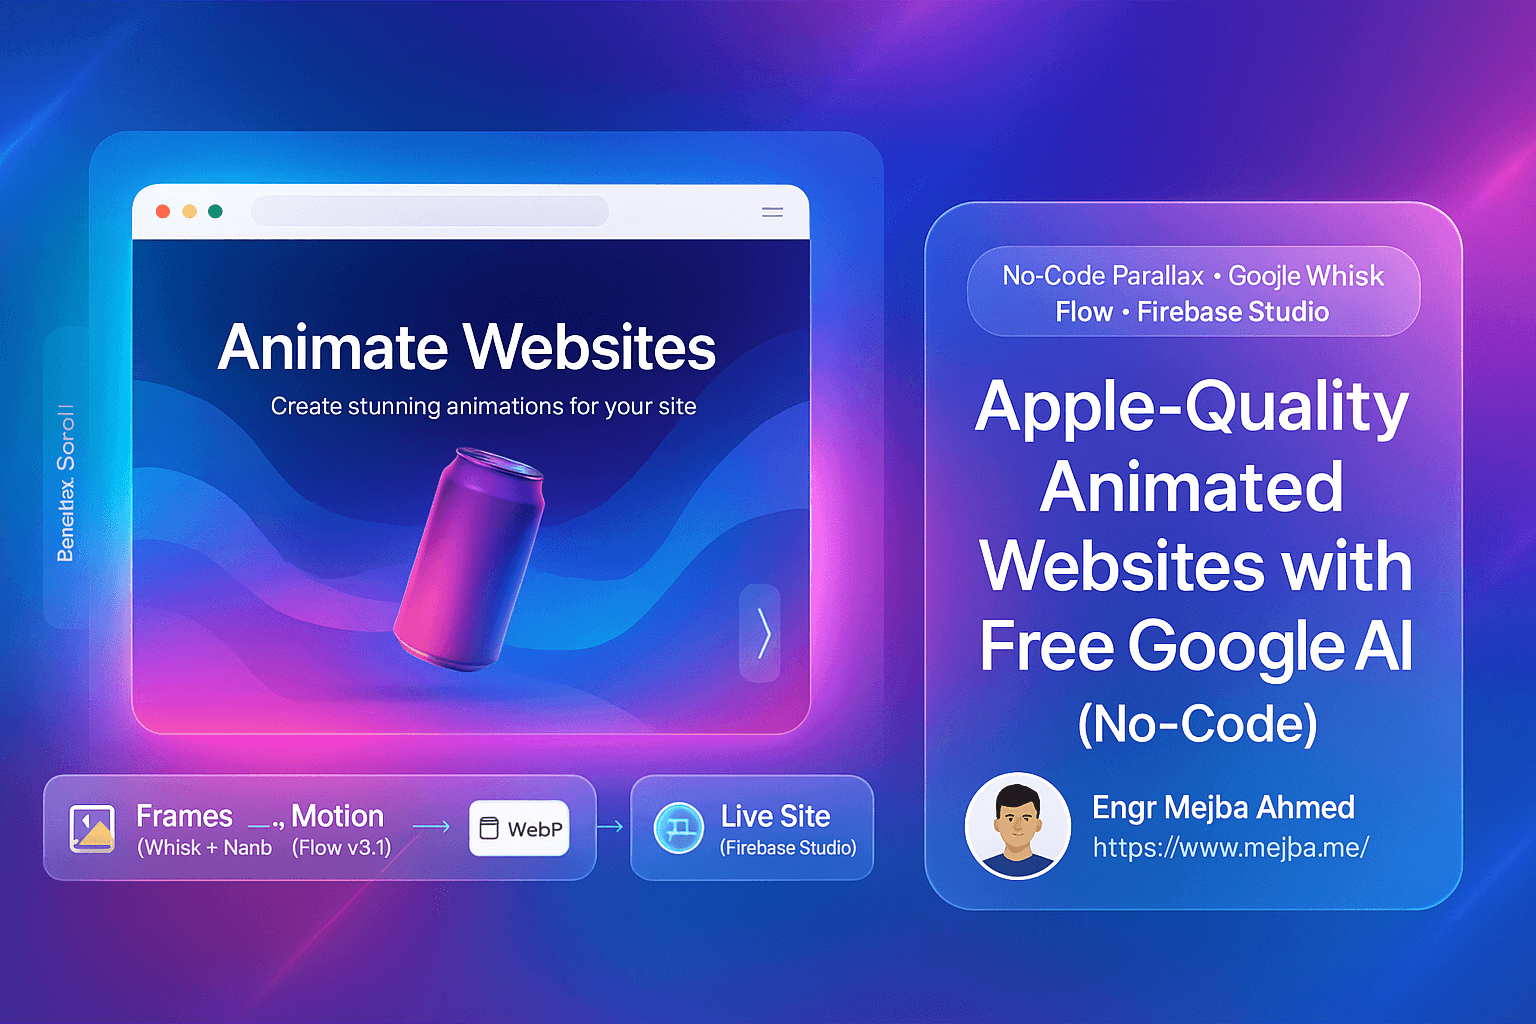
How to Build Apple-Quality Animated Websites Free Using Google AI Tools (No-Code Parallax Guide 2025)
"That website looks like it was built by a Fortune 500 design team."
I've heard this reaction exactly three times in my life. Twice for sites that actually were built by expensive agencies. And once for something I threw together in a few hours using free Google AI tools.
Here's the uncomfortable truth about websites in 2025: users judge your entire business in milliseconds. Not seconds. Milliseconds. They land on your page and their brain instantly categorizes you as "premium" or "template garbage." That gut reaction determines whether they stay, scroll, and eventually buy—or bounce and forget you existed.
The traditional path to a premium animated website? Hire a designer. Hire a developer. Wait weeks. Spend thousands. Iterate through endless revision cycles. Most solo founders and small teams simply can't afford that luxury.
But something shifted recently. Google quietly rolled out a collection of free AI tools that, when combined in the right workflow, can produce genuinely stunning animated parallax websites. No coding. No design degree. No massive budget.
I was skeptical too. Let me show you what's actually possible.
The Fake AI Website Problem
Before we dive in, let's address the elephant in the room.
Scroll through Twitter or LinkedIn for five minutes and you'll see countless "I built this website with AI in 10 minutes!" posts. Gorgeous sites. Smooth animations. Professional everything.
Here's what they're not telling you: most of those "AI-generated" sites were actually built by professional designers who happen to use AI for minor assistance. They're essentially showing off their design skills while marketing it as AI magic. It's misleading, and it sets unrealistic expectations for everyone else.
The method I'm sharing isn't that. This is a genuine workflow using genuinely free tools that genuinely works for people without design backgrounds. Will it produce something as polished as a $50,000 agency build? No. But will it produce something that makes visitors think you have your act together? Absolutely.
The Four Tools You Need (All Free)
The workflow chains four Google AI tools together, each handling a specific piece of the puzzle:
Google Whisk with Nano Banana generates your base visual frames. Think of it as creating the "start" and "end" snapshots that define your animation's visual direction. Colors, lighting, mood, composition—all locked in here.
Google Flow (v3.1) takes those static frames and generates smooth motion between them. This is where your still images come alive with animation.
Easy GIF (online converter) transforms your animated videos into WebP format. This step sounds boring but it's crucial—WebP files load fast and enable that buttery parallax scrolling interaction.
Firebase Studio assembles everything into an actual functioning website. It generates the code, handles the layout, integrates your animations, and produces something you can actually publish.
Each tool is free. Each does one thing well. Together, they're surprisingly powerful.
Why Visual Direction Comes First
Most people skip straight to layouts and colors. Big mistake.
Think about professional photography. Before anyone picks up a camera, they decide on lighting direction, color temperature, and overall mood. That foundation shapes every decision that follows. Web design works the same way.
Without clear visual direction, you end up with inconsistent colors across sections, lighting that doesn't match between images, and that unmistakable "cobbled together from stock photos" vibe. It screams amateur.
Starting with visual direction means every asset you generate shares the same DNA. Same lighting angle. Same color palette. Same mood. Your site feels cohesive because it actually is cohesive from the foundation up.
Step One: Generate Your Visual Frames
Open Google Whisk and access Nano Banana. You'll start by generating your base images—what I call "facials" because they establish the face of your site.
The key here is prompting. A good prompt includes:
- Subject matter (what you're showing)
- Lighting description (soft studio light, natural daylight, dramatic shadows)
- Color palette (modern pastels, bold primaries, muted earth tones)
- Composition guidance (centered product, negative space for text, layered depth)
- Mood indicators (premium, playful, minimal, luxurious)
For a soda brand website, your prompt might describe a floating can with soft gradient lighting, pastel background tones, clean negative space, and a premium lifestyle aesthetic.
Upload a reference image if you have one—maybe a product photo or a mood board screenshot. This anchors the AI's output to your actual brand colors and product styling.
Generate several options. You're looking for:
- Clean, balanced lighting
- Clear focal points
- Colors that work together
- Enough negative space for text overlay
- A mood that matches your brand
Download your best options for both your starting frame and ending frame. Also generate product-focused images if your site needs them.
This step takes maybe 20 minutes. You now have consistent visual assets that would've required a photographer and art director to create traditionally.
Step Two: Add Motion
Static images are fine. Animated images feel premium.
The difference between a good website and a great one often comes down to motion. Not overwhelming, distracting motion—subtle, intentional movement that makes everything feel alive.
Open Google Flow and switch to frame-to-video mode. Upload your starting frame and ending frame in order. The AI will generate smooth motion that transitions between them.
Your motion prompt matters. You want language like:
- "Smooth, gradual transition"
- "Subtle parallax movement"
- "Premium, unhurried pacing"
- "Clean motion without jarring cuts"
- "Consistent lighting throughout"
Generate multiple versions. Some will have weird artifacts or jerky moments. Some will nail that smooth, professional feel you're after. Pick the cleanest one.
Download your animated asset. It's probably an MP4 at this point.
Step Three: Convert for Web Performance
Here's where most people trip up. They drop a heavy video file onto their website and wonder why everything loads slowly and the scrolling feels janky.
Websites need lightweight, optimized formats. WebP handles animation while staying small enough for fast loading. More importantly, WebP enables interactive scrolling effects—your animation can respond to user scroll position, creating that parallax depth effect.
Use Easy GIF (or any similar online converter):
- Upload your animated video
- Select the full duration
- Keep original dimensions
- Choose a frame rate that balances smoothness with file size (15-24 fps usually works)
- Enable loop playback
- Convert and download
Your output will be slightly lower quality than the original video. That's the tradeoff. But it'll load fast and scroll smooth, which matters more for user experience.
Step Four: Build the Actual Website
Firebase Studio is where everything comes together.
This tool generates real, functioning code based on prompts and assets. You're not dragging boxes around in a visual builder—you're getting actual HTML, CSS, and JavaScript that produces a responsive, professional layout.
Start by prompting Firebase Studio with your design direction:
- Overall style (minimal, modern, bold)
- Layout structure (hero section, product grid, features, footer)
- Color palette (reference your generated images)
- Animation behavior (parallax scrolling, fade-ins, hover effects)
- Spacing philosophy (generous whitespace, tight and dense, balanced)
Firebase Studio generates a prototype with placeholder images. Replace those placeholders with your WebP animations and product images from earlier steps.
Tweak as needed. Maybe the font color needs adjusting. Maybe the spacing feels off in one section. These refinements take minutes, not hours.
What You End Up With
After a few hours of work, you have:
- A fully responsive website that looks premium on any device
- Smooth parallax animations that respond to scrolling
- Consistent visual direction across every element
- Fast loading times thanks to optimized WebP assets
- Real code you can deploy anywhere
Would I ship this directly to a Fortune 500 client? Probably not. But for a startup landing page, a product launch, a portfolio site, or a small business presence? This workflow produces genuinely impressive results.
More importantly, it's repeatable. Once you understand the chain—frames, motion, optimization, assembly—you can apply it to any project. Different brand, different style, same workflow.
Common Mistakes to Avoid
Skipping visual direction. I know it feels like extra work. It saves you from rebuilding everything later when nothing matches.
Over-animating. Subtle motion beats aggressive motion every time. You want visitors to feel the premium vibe, not get dizzy.
Ignoring file optimization. Heavy files destroy user experience. Always convert to WebP. Always check your page load speed.
Expecting perfection on first try. You'll generate mediocre images before great ones. You'll create janky animations before smooth ones. The tools are powerful but require iteration.
Fighting the tools. If an AI-generated asset isn't working, generate a new one instead of trying to manually fix it. These tools work best when you embrace their generative nature.
The Bigger Picture
A year ago, building an animated parallax website required either expensive professionals or weeks of learning design and front-end development. Neither option worked for most people with ideas to launch.
That barrier is crumbling.
Google's AI tools aren't perfect. The outputs require curation. The workflow has learning curves. But the fundamental shift is real: premium-feeling websites are now accessible to people who couldn't create them before.
This doesn't replace professional designers and developers for complex projects. What it does is democratize the baseline. A solo founder can now launch with a site that doesn't scream "I made this in Squarespace over the weekend."
First impressions matter. Your website is often the first impression. And now you have tools to make that impression count—without the traditional barriers of budget, time, or technical skill.
The workflow is simple enough to remember: frames, motion, optimize, assemble. Four tools. A few hours. Results that would've seemed impossible to most people just a couple years ago.
What are you going to build?
🤝 Hire / Work with me:
- 🔗 Fiverr (custom builds, integrations, performance): fiverr.com/s/EgxYmWD
- 🌐 Mejba Personal Portfolio: mejba.me
- 🏢 Ramlit Limited: ramlit.com
- 🎨 ColorPark Creative Agency: colorpark.io
- 🛡 xCyberSecurity Global Services: xcybersecurity.io