
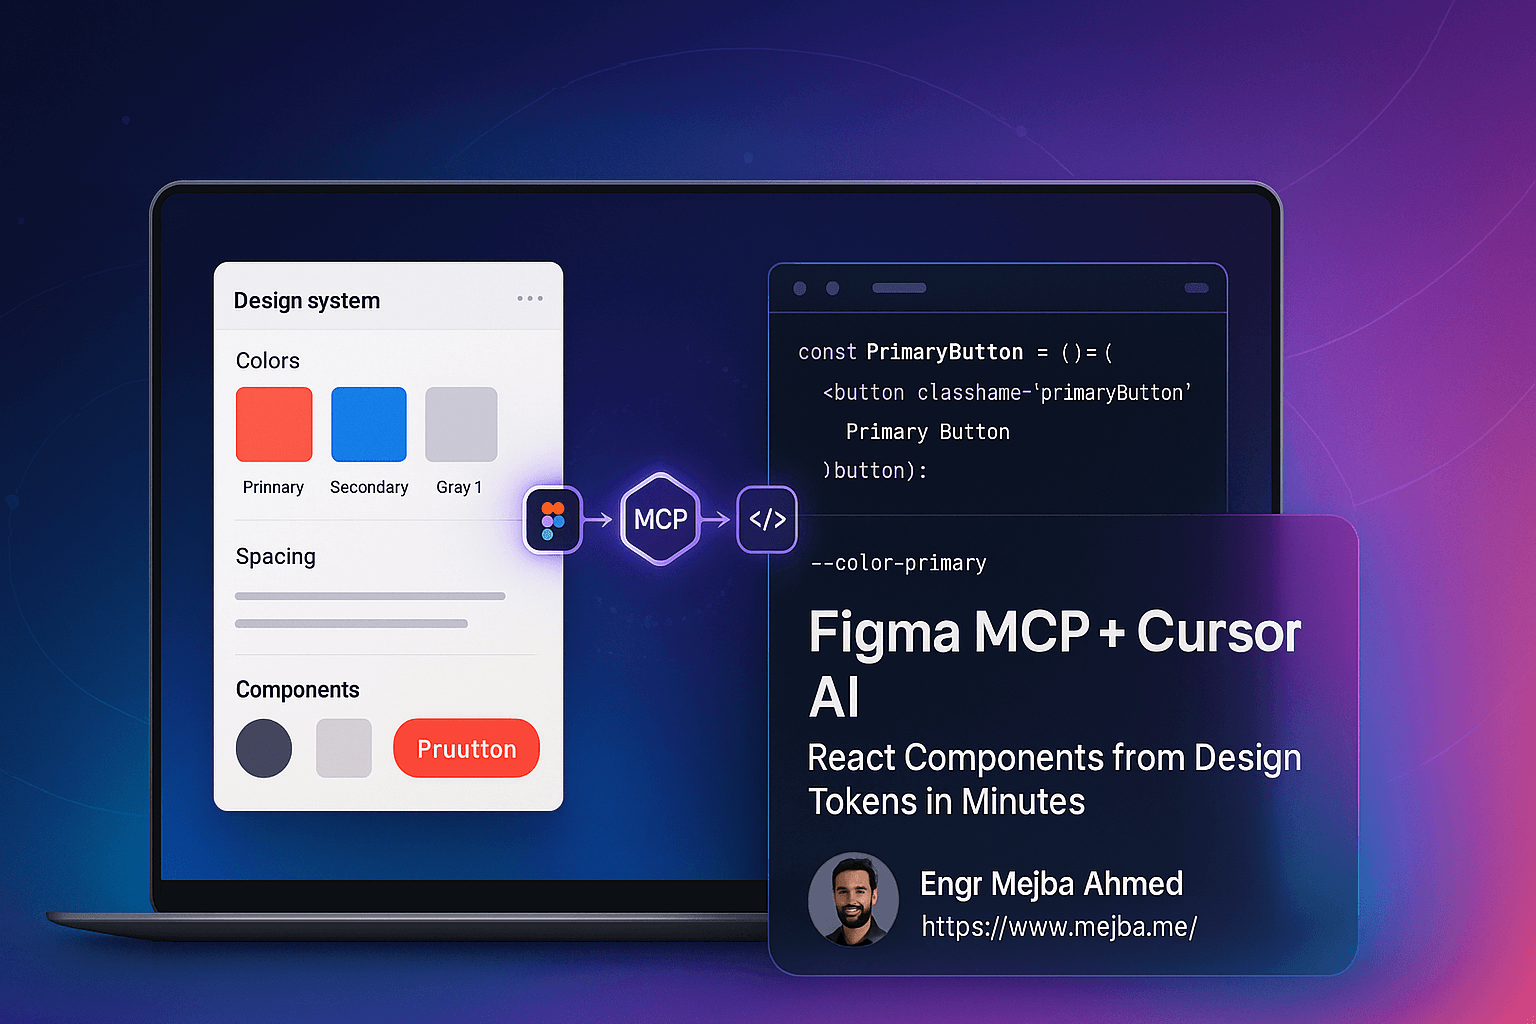
Figma MCP + Cursor AI: The Complete Design-to-Code Workflow Guide for 2025
The design-to-development handoff has been broken for years. Designers create pixel-perfect mockups in Figma, only to watch developers rebuild everything from scratch with hardcoded hex values and inconsistent spacing. Design systems fall apart. Teams waste countless hours on back-and-forth revisions.
But that frustrating workflow is now obsolete.
With Figma MCP (Model Context Protocol) and Cursor AI, you can transform your Figma design system into production-ready React components in under 20 minutes. No more manual translation. No more lost design tokens. No more broken consistency.
This guide walks you through the entire process—from initial setup to running interactive components locally.
What You'll Learn
- How to connect Figma to Cursor using MCP
- Why prepping AI with design tokens matters (and what happens when you skip it)
- Step-by-step component generation from Figma to React
- Best practices for maintaining design system consistency
- Testing your generated components locally
Understanding the Tools
Cursor AI
Cursor is an AI-assisted development environment that has become the go-to tool for developers leveraging AI in their coding workflows. While it's developer-focused, designers are increasingly expected to understand it—especially those working on design systems.
Figma MCP Server
MCP (Model Context Protocol) acts as a bridge between Figma and external tools like Cursor. It allows your AI assistant to directly access your Figma design system components, variables, and design tokens. This connection is what makes automated, consistent code generation possible.
Design Tokens
Design tokens are the foundation of any scalable design system. They're centralized variables—colors, spacing, typography, opacity, gradients—that drive consistent styling across all components. When AI understands your token structure, it generates code that references these tokens instead of hardcoding raw values.
Step-by-Step Setup Guide
Step 1: Connect Cursor to Figma via MCP
First, you need to establish the connection between Figma and Cursor:
- Open Figma and navigate to Settings
- Find the MCP integration options
- Follow the prompts to add MCP to Cursor
- Authorize the connection when prompted
Important: Make sure you're logged into only one Figma account. Multiple accounts can cause authorization issues during MCP installation.
Step 2: Install and Authorize the MCP Server
Once MCP is configured:
- The MCP server installation will prompt you to authorize access
- An external authorization page will open
- Grant the necessary permissions for Cursor to access your Figma account
- Verify the connection is active in both applications
The Critical Step Most People Skip: Prepping AI with Context
Here's where most tutorials fail you. They jump straight into component generation without explaining why your AI-generated code ends up with hardcoded #3B82F6 instead of var(--color-primary-500).
The problem: Without context, AI generates raw values. Your beautifully organized design tokens become meaningless hex codes scattered throughout your codebase.
The solution: Feed your AI the complete design token structure before generating any components.
How to Prep AI Properly
-
Import your design token collections from Figma:
- Brand tokens (raw color values)
- Alias tokens (semantic naming like "primary-button-background")
- Mapped variables (theme-aware and responsive tokens)
- Gradients and opacity collections
-
Generate a markdown summary: Ask AI to analyze your Figma variable structure and create a comprehensive markdown document explaining:
- Token hierarchies
- Relationships between collections
- How alias tokens reference brand tokens
- Semantic meaning of each token category
-
Build token files in code: Using the markdown summary, have AI generate React-compatible token files that maintain the Figma structure and relationships.
Design Token Structure Best Practices
| Token Collection | Purpose | Example |
|---|---|---|
| Brand Tokens | Raw values (your source of truth) | brand-blue-500: #3B82F6 |
| Alias Tokens | Semantic abstraction | primary-button-bg → references brand-blue-500 |
| Mapped Tokens | Use-case specific combinations | Theme-aware or responsive styling |
| Gradients & Opacity | Complex styling tokens | Separate collections for maintainability |
Key principle: Alias tokens should never contain raw values. They always reference brand tokens. This creates a single source of truth that scales.
Generating React Components
With your design tokens properly configured, you're ready to generate components.
Step 1: Prepare Your Component Selection
Select a simplified component group from Figma. For example, a button group with:
- States: Default, Hover, Focus, Disabled
- Variants: Default, Subtle, Outline, Transparent
Link this selection back to Cursor so AI has the visual reference.
Step 2: Generate the Components
Instruct AI to build React components based on:
- The Figma button designs
- Your previously generated design tokens
- Any specific styling preferences (CSS modules, styled-components, Tailwind, etc.)
Step 3: Install Dependencies and Run
npm install
npm run dev
Your components are now running locally. Open the localhost URL to interact with them.
What to Expect from Generated Components
AI-generated components will include:
- Interactive states (hover, focus, disabled) inferred from your Figma naming conventions
- Token-driven styling that references your design system variables
- Functional prototypes with click events and state management
Common Refinements Needed
Initial generation rarely produces perfect results. Expect to iterate on:
- Subtle hover effects (outer glows, shadows)
- Transition timing
- Edge cases in focus states
- Accessibility attributes
This iterative refinement is part of the process, not a failure of the tool.
Real-World Benefits
For Designers
- Demonstrate technical skills in interviews and portfolio reviews
- Bridge the gap between design and development
- Validate designs with interactive prototypes before handoff
- Reduce revision cycles by catching implementation issues early
For Developers
- Faster prototyping with AI-generated starting points
- Consistent token usage across the codebase
- Better design specs with semantic variable references
- Reduced back-and-forth with design teams
For Teams
- 20-minute component generation vs. hours of manual work
- Single source of truth maintained across design and code
- Scalable design systems that don't break over time
Troubleshooting Common Issues
MCP connection failing:
- Ensure you're logged into only one Figma account
- Re-authorize the connection from Figma settings
- Restart both Cursor and Figma
Hardcoded values appearing in generated code:
- You skipped the token prep step
- Regenerate after providing the markdown token summary
Missing hover/focus states:
- Check your Figma naming conventions
- Explicitly describe state requirements in your generation prompt
Dependency errors during npm install:
- Verify Node.js version compatibility
- Clear node_modules and reinstall
What's Next
This workflow covers design tokens and isolated components—the foundation of any design system. Future explorations include:
- Full page and layout generation
- Complex interaction patterns
- Multi-theme support
- Responsive behavior automation
The tools are evolving rapidly. What takes 20 minutes today will take 5 minutes tomorrow.
Why This Matters for Your Career
AI-assisted design and development isn't a trend—it's the new baseline expectation. Professionals who master these workflows have a significant advantage:
- Designers who can generate functional prototypes stand out in interviews
- Developers who leverage AI ship faster with fewer bugs
- Design system leads who automate token-to-code pipelines build more resilient systems
The Figma MCP + Cursor workflow is one of the most practical entry points into AI-augmented design work. Start here, and the rest follows.
Final Thoughts
The design-to-development handoff doesn't have to be painful. With Figma MCP connecting your design tokens to Cursor AI, you can generate consistent, production-ready React components in minutes instead of hours.
The key is preparation: feed AI your complete design token structure before generating anything. Skip this step, and you'll get the same hardcoded mess you were trying to avoid.
Take the 20 minutes to set this up properly. Your future self—and your team—will thank you.
🤝 Hire / Work with me:
- 🔗 Fiverr (custom builds, integrations, performance): fiverr.com/s/EgxYmWD
- 🌐 Mejba Personal Portfolio: mejba.me
- 🏢 Ramlit Limited: ramlit.com
- 🎨 ColorPark Creative Agency: colorpark.io
- 🛡 xCyberSecurity Global Services: xcybersecurity.io