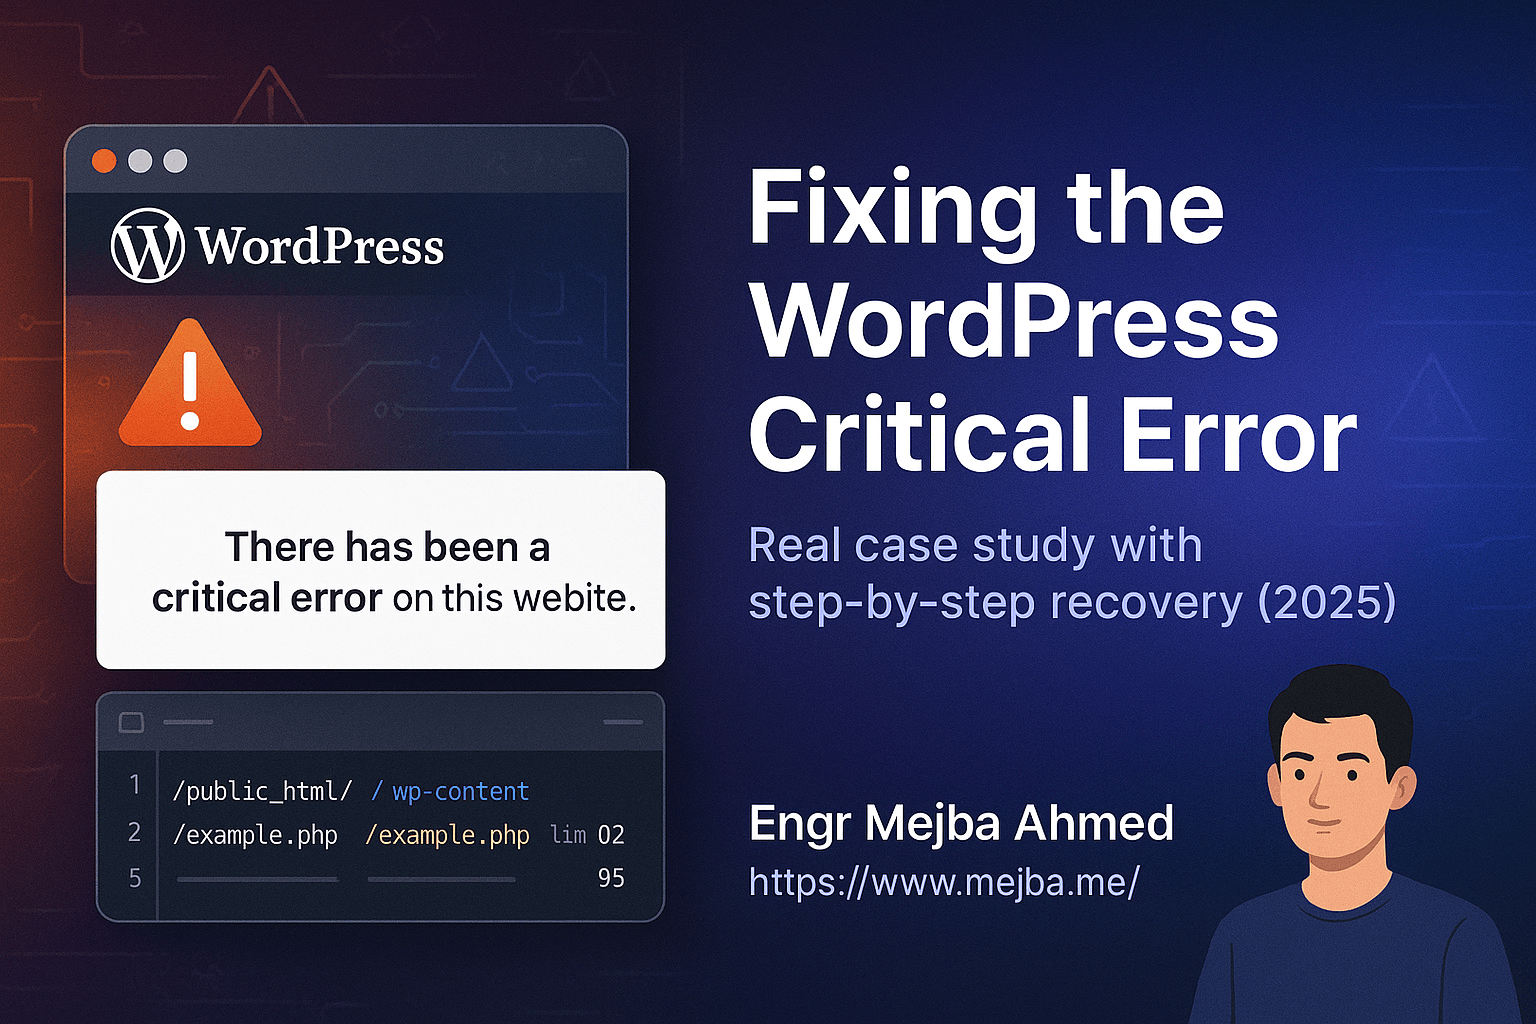

Building a Custom WordPress Plugin: Step-by-Step Guide for Beginners
Creating a custom WordPress plugin allows you to extend the functionality of your WordPress site easily. This comprehensive guide provides clear and professional step-by-step instructions on how to develop your own WordPress plugin from scratch, ideal for beginners.
What You'll Need:
- WordPress installation
- PHP and basic WordPress knowledge
- Access to your WordPress site's file system
Step 1: Setting Up Plugin Folder
Navigate to your WordPress plugin directory:
wp-content/plugins
Create a new folder for your plugin:
mkdir custom-plugin
cd custom-plugin
Step 2: Create Plugin File
Inside your custom-plugin folder, create a new file named custom-plugin.php:
<?php
/*
Plugin Name: Custom Plugin
Description: A simple custom plugin to demonstrate plugin development.
Version: 1.0
Author: Your Name
*/
Step 3: Activate Your Plugin
Log into your WordPress admin dashboard:
- Navigate to Plugins → Installed Plugins
- Find your plugin named "Custom Plugin" and click Activate.
Step 4: Add Plugin Functionality
Let's add basic functionality, such as displaying a message on your site:
function custom_plugin_message() {
    echo "<p>Welcome to our Custom WordPress Plugin!</p>";
}
add_action('wp_footer', 'custom_plugin_message');
Step 5: Test Your Plugin
Refresh your website homepage or any page of your site. You should see your custom message displayed in the footer area.
Step 6: Enhance Plugin (Optional)
You can further enhance your plugin by adding admin settings, shortcodes, or custom post types. Here's an example of adding a shortcode:
function custom_plugin_shortcode() {
    return "This message is displayed using a shortcode!";
}
add_shortcode('custom_message', 'custom_plugin_shortcode');
Use the shortcode in your posts or pages:
[custom_message]
Conclusion
Congratulations! You have successfully created and activated your custom WordPress plugin. Now you have the basic understanding needed to build more complex functionalities and customize your WordPress site extensively.