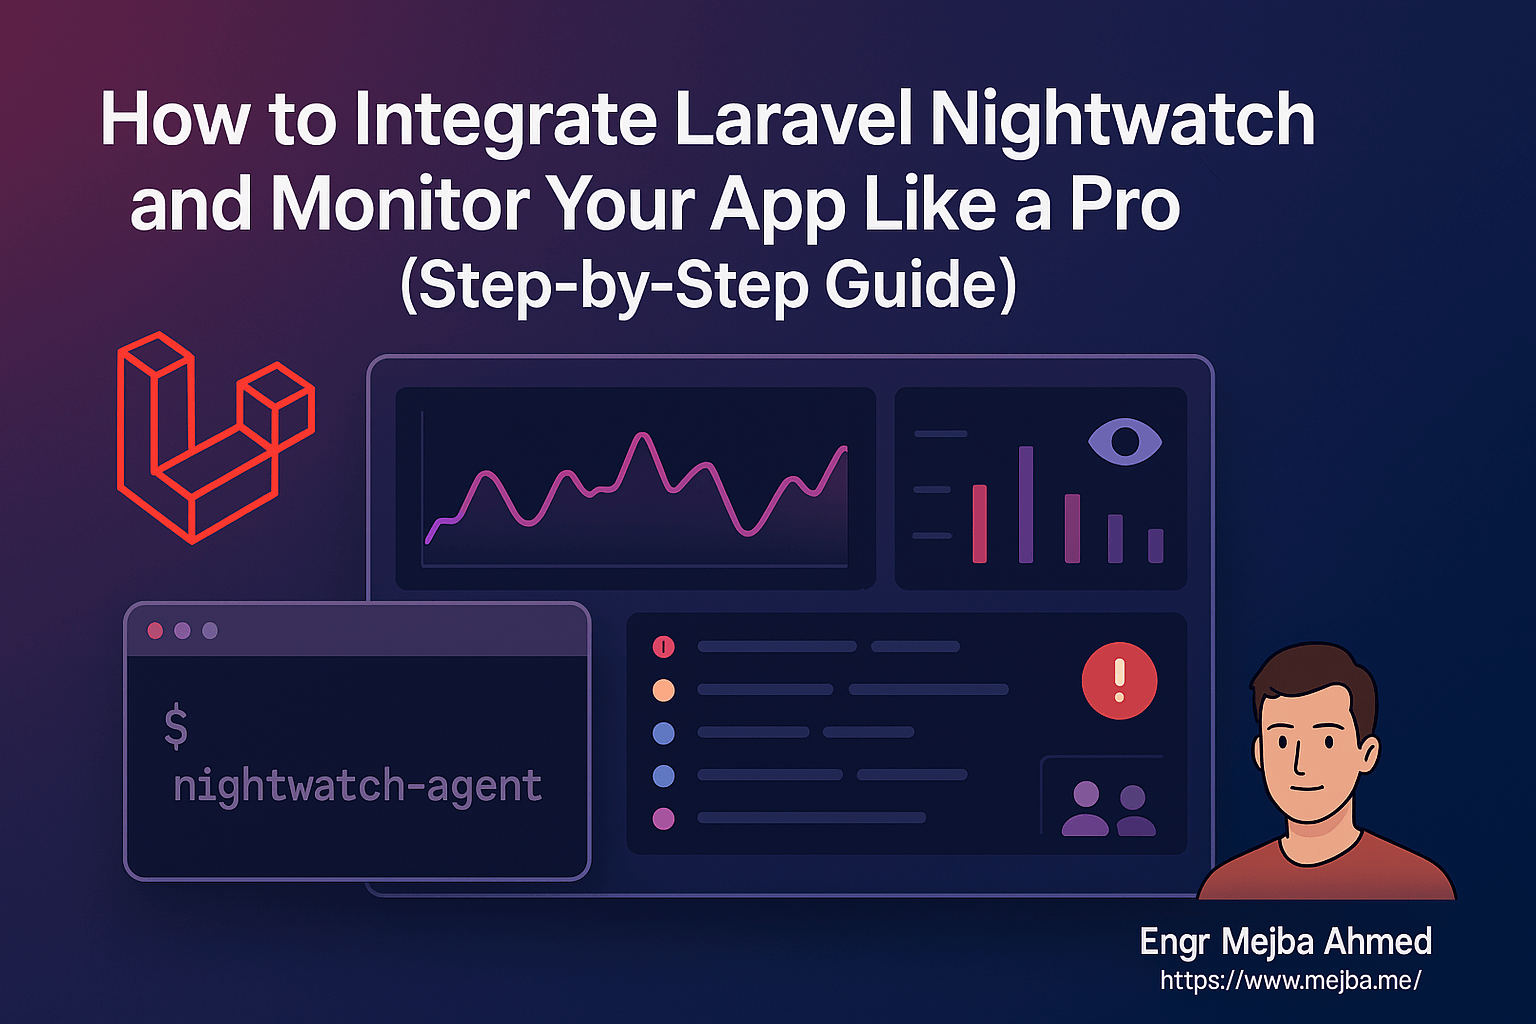
How to Integrate Laravel Nightwatch and Monitor Your App Like a Pro (Step-by-Step Guide)
1. Introduction
In the modern Laravel development workflow, monitoring and observability are essential for ensuring smooth user experiences and catching issues early. Laravel Nightwatch is a new, official monitoring tool built specifically for Laravel applications. It provides deep visibility into your app's performance, errors, requests, jobs, and more—all from a beautiful, developer-first dashboard.
In this guide, you'll learn how to integrate Laravel Nightwatch into your Laravel application, step by step. Whether you're building a solo project or managing production-grade infrastructure, Nightwatch will help you monitor like a pro.
2. What is Laravel Nightwatch?
Laravel Nightwatch is an official SaaS tool from the Laravel ecosystem designed to help you monitor application-level metrics in real-time. It provides:
- Exception tracking (handled & unhandled)
- Request performance stats
- Queue job metrics
- Real-time user activity
- Seamless Laravel integration
Think of it as Forge + Telescope + Sentry rolled into one, but purpose-built for Laravel.
3. Prerequisites
Before you begin, ensure the following:
Requirements
- Laravel 10 or later
- Composer 2+
- PHP 8.1+
- An account on nightwatch.laravel.com
Important: Laravel Nightwatch is not compatible with shared hosting environments like Hostinger. You should use a local environment or a VPS (e.g., Laravel Forge, DigitalOcean, etc.).
4. Integration Steps
Step 1: Install Laravel Nightwatch
Run the following from your project root:
composer require laravel/nightwatch
If your Composer version is outdated (e.g., v1.x), upgrade it first:
composer self-update --2
Step 2: Add the Token to .env
After creating a new app in the Nightwatch dashboard, you'll receive a token:
NIGHTWATCH_TOKEN=your-nightwatch-token-here
LOG_CHANNEL=nightwatch
Step 3: Start the Agent
To start sending data:
php artisan nightwatch:agent
You should see:
[INFO] Nightwatch agent initiated: Listening on 127.0.0.1:2407
[INFO] Ingest successful
Step 4: Trigger Activity
Visit routes, trigger exceptions, or queue jobs to see real-time data appear in the dashboard.
5. Monitoring Best Practices
- Run Agent in Background: Use Supervisor or systemd to keep the agent running in production.
- Use
stackLog Channel: To log to both Nightwatch and default Laravel logs:
LOG_CHANNEL=stack
Update config/logging.php:
'channels' => [
  'stack' => [
    'driver' => 'stack',
    'channels' => ['daily', 'nightwatch'],
  ],
  'nightwatch' => [
    'driver' => 'monolog',
    'handler' => \Laravel\Nightwatch\Log\NightwatchHandler::class,
  ],
],
6. Pro Tips
- ✅ Use Laravel Forge or a VPS to run Nightwatch agent persistently
- 🔄 Automate test/agent start via deployment hooks
- 🧪 Combine with Laravel's feature tests for full-stack observability
- 🔐 Never commit
.envwith token to public repos
7. Conclusion
Laravel Nightwatch brings powerful, first-class observability directly to your Laravel projects. With minimal setup, you gain visibility into the health of your application—without needing third-party error tracking or logging systems.
Start monitoring like a pro today. Your future debugging self will thank you.


