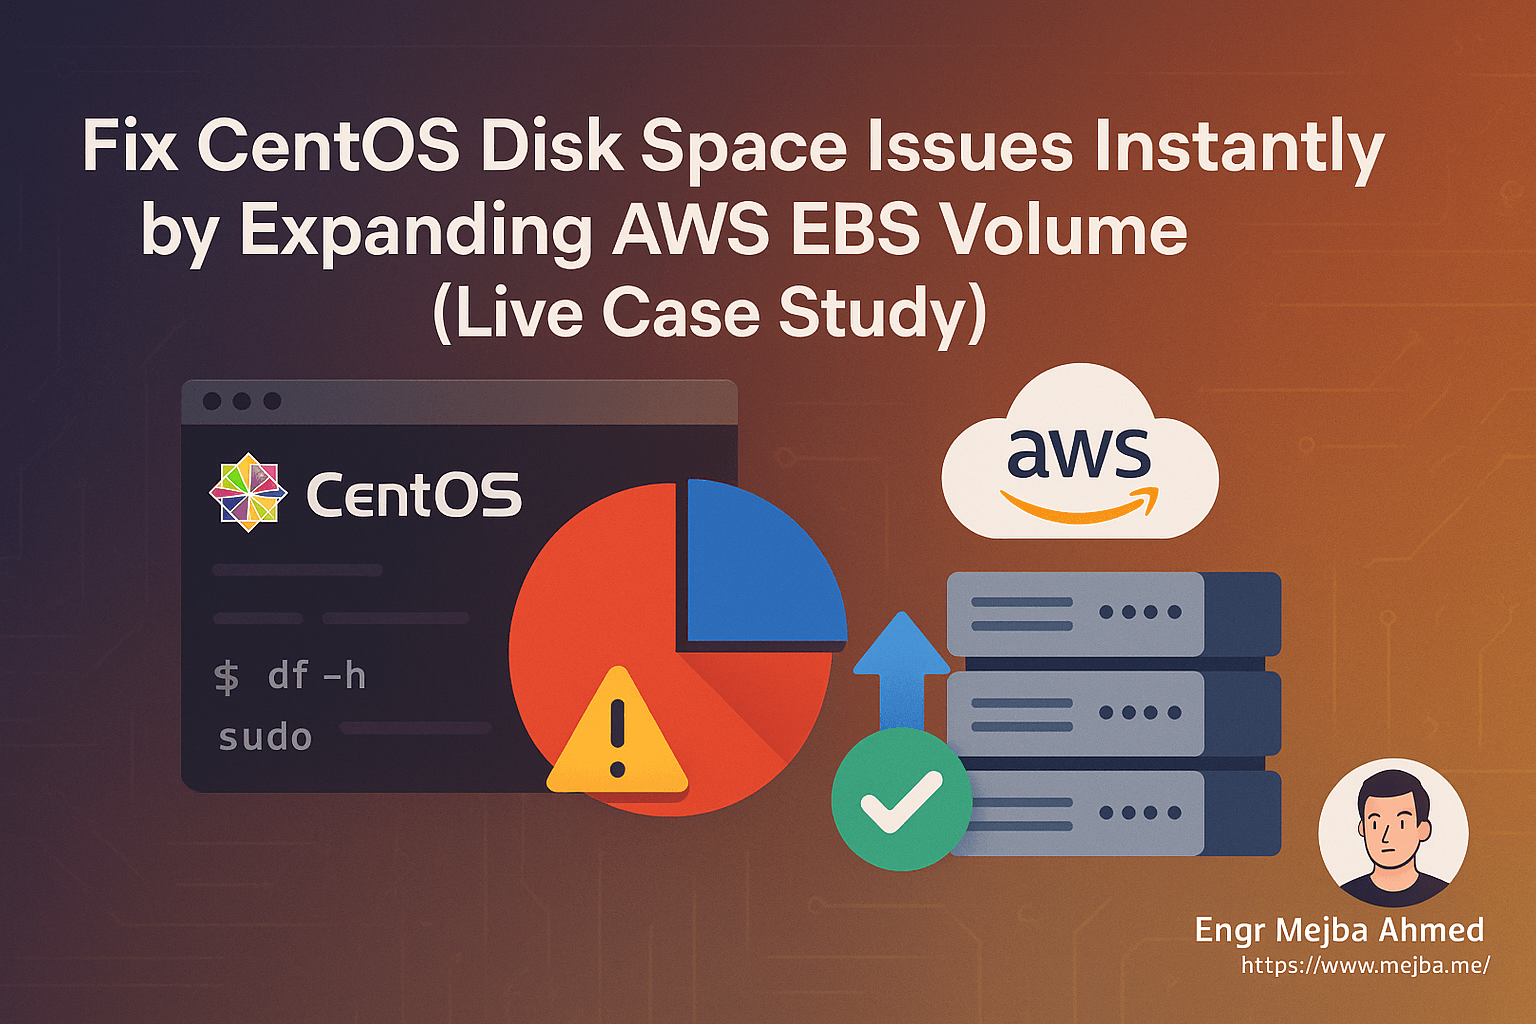
Fix CentOS Disk Space Issues Instantly by Expanding AWS EBS Volume (Live Case Study)
Running out of disk space on a CentOS server hosted on AWS can crash your services, slow down performance, and trigger security risks. In this guide, we’ll show you how we fixed a critical CentOS server disk issue by expanding the attached EBS volume—without any downtime.
Whether you're running blogs, APIs, newsletters, or any Linux-powered service, this post is for you. Let’s dive in with real steps and commands.
🔐 Step 1: Connect to Your CentOS Server via SSH
First, you need to SSH into your CentOS server hosted on AWS.
Requirements:
.pemkey file (downloaded when you launched the instance)- Public IP or DNS of your EC2 instance
- Default CentOS username:
centos
Example Command:
ssh -i "your-key.pem" centos@203.0.113.10
Make sure your .pem file has the right permissions:
chmod 400 your-key.pem
📊 Step 2: Check Current Disk Usage
Once logged in, run:
df -h
You’ll see something like this:
Filesystem      Size  Used Avail Use% Mounted on
/dev/nvme0n1p1   50G   48G  1.2G  97% /
If your usage is over 85–90%, your server is at high risk of crashing.
🔍 Step 3: Identify What’s Taking Up Space
To explore top-level disk usage:
sudo du -sh /* 2>/dev/null | sort -hr | head -n 10
Check inside /var, which usually holds logs, databases, and cache:
sudo du -sh /var/* | sort -hr | head -n 10
Tip: If /var/lib/mysql is huge, be careful — that’s your database.
📈 Step 4: Resize the EBS Volume from AWS Console
Go to your EC2 instance on the AWS Management Console:
- Click Volumes under Elastic Block Store
- Find the volume attached to your instance (e.g.,
vol-0a1b2c3d4e5f6g7h8) - Click Actions > Modify Volume
- Change size from
50 GiBto70 GiB - Click Modify and confirm
✅ No reboot or downtime required. Wait until the volume state says "available".
🖥️ Step 5: Log Back In and Resize the Partition
Run the following command to confirm your disk now shows 70G:
lsblk
Expected output:
NAME          MAJ:MIN RM  SIZE RO TYPE MOUNTPOINT
nvme0n1       259:0    0   70G  0 disk
└─nvme0n1p1   259:1    0   50G  0 part /
Notice the partition is still 50G. We’ll expand it now.
Run:
sudo growpart /dev/nvme0n1 1
Then resize the XFS filesystem:
sudo xfs_growfs -d /
✅ Step 6: Verify the New Size
df -h
Now you should see:
Filesystem      Size  Used Avail Use% Mounted on
/dev/nvme0n1p1   70G   48G   22G  69% /
🎉 Your CentOS server now has more room and better performance.
🛡️ Step 7: Set Up Monitoring (Optional but Recommended)
To avoid this in future:
Install UptimeRobot or Similar:
Monitor Disk Space via CLI:
Add this to your crontab:
*/30 * * * * df -h | mail -s "Disk usage alert" your@email.com
Or use CloudWatch metrics in AWS for full automation.
Final Thoughts
Expanding your EBS volume is the safest, most scalable way to fix disk space issues on a live CentOS server—without disrupting service.
This guide works for:
- EC2 Linux instances (CentOS, Amazon Linux, Ubuntu)
- LAMP/LEMP servers
- Blog platforms (WordPress, Ghost)
- Custom apps with growing data
By following these steps, we resolved caching problems, server restarts, and SEO-affecting downtime — all in less than 15 minutes.
Got stuck at any step? Drop a comment or reach out. We’re here to help.